Friday, March 6, 2015

Back to Basics Series - The Arch Holds


Ok enough of the flashy, beach muscle exercises, its time to start doing some real work and break away from the crowds of hunched shoulders and bad backs. This exercise is deceptively difficult when performed correctly and has created some fantastic quotes because of this but will help to develop better posture and stability though the shoulders, hips and core.

"I had to squeeze so hard I thought I was going to crap a Diamond"


Our last instalment of the back to basics series focused on the essential gymnastics body position, the hollow body. The hollow body directs attention to creating mid line and spinal stability through engaging the front side of the torso i.e. the Abdominal, transverse abdominis etc

In order to create balance throughout the musculature we must consider the other side of the coin. Today we are going to look at spinal stability and strengthening of the posterior chain i.e. Gluteus, Erectors spinae, Hamstrings etc
  
The Arch hold is the direct opposite of the hollow body position that appears simple but its the details in the execution that you must focus on to get every last drop of goodness out of this progression to lay a foundation solid enough to build a skyscraper on.


The Arch Body Hold


Aim: Build up to 60 second holds for all sets
    
Equipment

Floor space


Execution
 
Basics


  • Lay face down on the ground with your arms over your head and legs together

  • squeeze the gluteus tightly, pull the belly button into the spine, lift the legs and shoulders off the ground

  •  keep the legs squeezed tightly together and toes pointed

  • keep the head neutral and arms reaching up pressing the biceps to the ears


note: the arms can be placed by the sides off the floor to scale this exercise if necessary


Details

Global extension: To get the most from this exercise you need to work to create the maximum global extension. This means that your body should create a smooth curve from tips of your fingers to the tips of your toes and not be a sharp arch/ bend in the only the lower back. Visualize wrapping your entire body around a large cylinder.

Tilt the pelvis: Tilting the pelvis backwards (anterior pelvic tilt) is a key detail you can practise by lying face down on the floor and pushing your butt up without moving anything else. This should make the hip bones press into the floor so you can recognise the pelvis tilting forwards.

Keep tight: Keep everything in the body as tight as possible to begin with. As you gain more control over your body you will be able to identify what muscle need to contract the hardest and what can be held less tense but start as tight as possible. pulling the belly button in towards the spine as much as possible ( It helps to visualize the spine being shrink wrapped by all the muscle of the core), keep the ribcage flat and squeeze the gluteus hard.

Keep the legs together: As well as tight gluteus, keep the legs tight together. If you are having trouble with this place a light object between the feet i.e. yoga block, rolled up towel etc, to help with visual feedback.


Now lets find a little floor space and start making your own diamonds ;)

Sunday, February 22, 2015

Gymnastic Strength Training for Climbers


 Sasha Digiulian

Gymnastic strength training is the perfect complement to the rock climber but is rarely seen in today's specialized world, with climbers typically borrowing very little from the extensive collective knowledge of strength and conditioning. With many useful tools being incorrectly used due to misguided information that litters the internet and magazines. 
This is to be expected as the excitement and love of climbing is a thrill of sending a difficult routes or exploring on the long mission up thousands of feet of sheer granite, not the monotony of going to a gym and working out. Climbing is their workout, its their sport, but all sports can benefit from specific strenght and conditioning to round out and balance the athletes strenght and weaknesses.

This series is aimed towards guiding those that want excellence in their chosen sport while staying injury free. Workouts should never be destructive, rather tackle the weaknesses of the individual in a progressive and structured manor.

Patience is key to longevity, Rushing the process may give you short term boosts in performance but will inevitably lead to injury and the long process of recovery (if that is even possible) with a significant drop in performance. However the only negative side effect to slowly progressing through a program is the increase in time it takes to reaching your potential, but you will reach it and much more quickly.

Areas to develop


Most climbers will focus on finger and pulling strength in their training through the use of Hang boards, Campus boards or other grip strength training. This would seems to be the most logical, after all the climber relies on the contact strength of the fingers to hold on to the face and pulling up and into the wall. This if often the reason that so many climbers injury the tendons and ligaments of the fingers. 
Overuse injuries are common as the body becomes increasingly imbalanced, with constant strain of the same connective tissues and muscles. These training techniques should be left for the elite to gain that slight edge that they need to overcome the hardest of climbers. Climbers that have had years upon years of gradual conditioning to the connective tissues through slowly building the difficulty of their climbs. 

"The best way to get stronger for climbing, is to climb"

Climbing a wide variety of disciplines will develop your skills and strength in proportion to one another. You will have a much lower risk of injury than any hang board or grip training, as the variety and positions the hands and body, provide a 3 dimensional sport specific development of the muscle and connective tissues. It makes it more difficult to push beyond your bodies capabilities and your current climbing skills. 


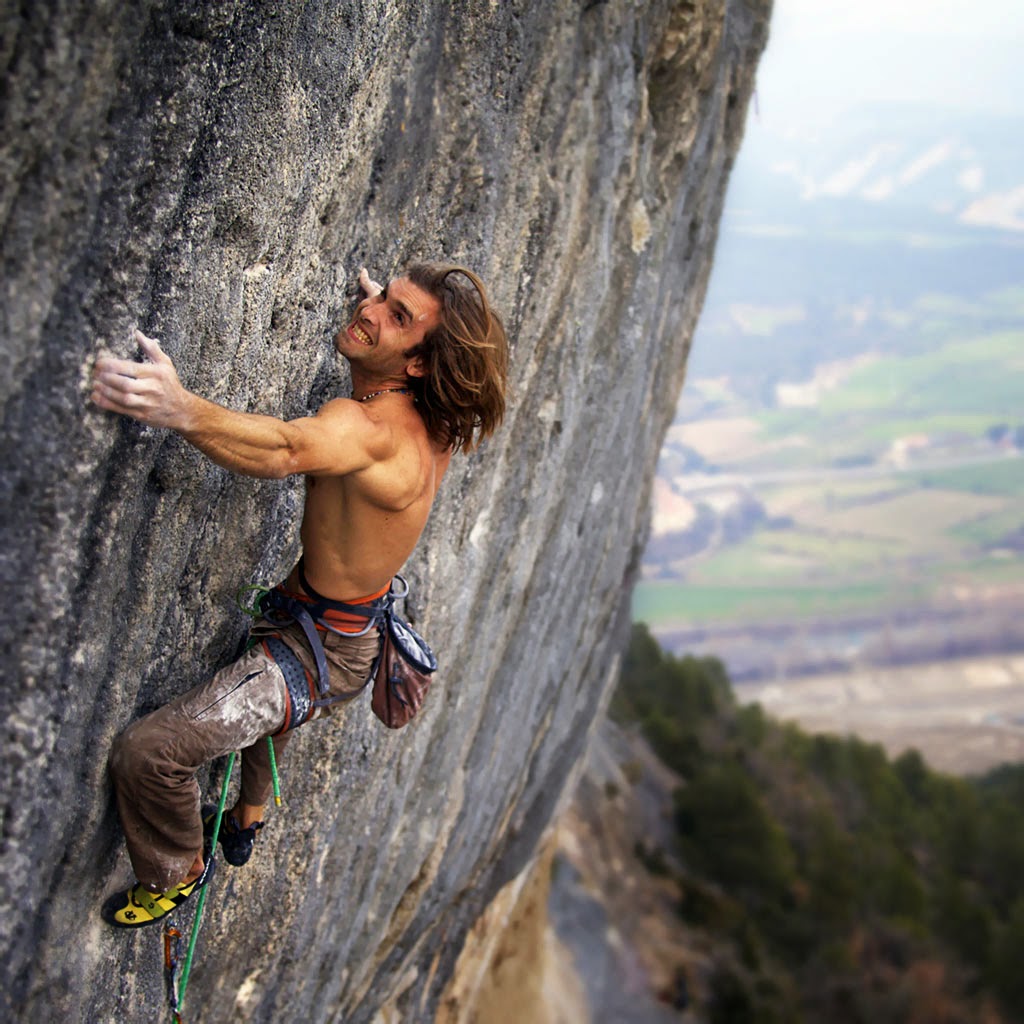
Chris Sharma


Filling the climbers missing components of fitness


This series will cover such topics as:


  •  Performance based mobility
  • Opposing muscle groups
  • Balance
  • Core stability
  • Shoulder girdle stability
  • Injury proofing the wrists and hands
  • Pre-hab  for shoulders, elbows, knees and ankles
  • Unilateral strength


Keep a look out for the first instalment of the GST for climbers series coming soon.

Monday, February 16, 2015

Back to Basic Series - Hollow body hold


 Eugene Sandow - 1889


To continue our back to basic series we are going to delve into the illusive and mystical 6 pack obsession. Contrary to popular opinion, and late night TV, getting a 6 pack and more IMPORTANTLY core stability, does not require that you perform a 1000 crunches a day on a strange little frame or hook yourself up to a car battery for a 30 minute session of DIY electro shock therapy.

All it requires is 5 minutes, twice a week, enough floor space to lay down and some good old fashioned grit and determination.


Sounds easy right?

 
The hollow body hold is an essential and basic gymnastic positioning exercises and is graded as there easiest preparatory exercises for the core. Do not let this fool you into thinking that it is a walk in the park, rather let it open your eyes to the unbelievable strength and conditioning that even high school level gymnasts have. The strength that you will gain from this exercise is extremely transferable to many other unrelated movements and will help develop unity throughout the body making you more injury resistant and athletic.

This exercise is your first step towards their level. The primary function of the mid section of the body is to stabilise the spine as it is one of our most vulnerable areas, allowing constant regulation and information from the body, to be sent and received by the brain. Having a string and enduring network of muscles to protect this super high way of information that your lives depend on is probably a good thing. So now your convinced let's get started.

I want you to get up off your butt right now and lie down on the floor. No or I can't because I'm in public are not answers or excuses so off you pop.  

Learn by doing!


Bent Leg Hollow Body Hold


Start with the easiest version with the arms down and knees tucked until you can perform 5 x 60 seconds without breaking form.

Aim: Build up to 60 second holds for all sets 

Equipment

Floor space


      Execution


Bent Leg Hollow Body Hold


  • Lay on the floor with your feet tucked close to your butt and arms by your sides.

  •  Make your lower back as flat as possible on the floor by squeezing the gluteus and lifting the shoulders off the ground, sucking the belly button towards the spine.

  •  Keep your head neutral, and lift the feet off the floor keeping the tight tucked position.

  •  Arms should be parallel to the ground reaching down towards the feet

  •  Keep toes pointed as this will help keep tight

  • Remember to breath


Details of Execution

Compression: The aim of this exercise is to begin strengthening the abdominal that primarily respond to stability endurance exercise. They have a small range of motion that shortens the distance between the pelvis and ribcage. To get the most from this exercise compress that distance as much as possible tucking the gluteus  up, making the hips 'flat' and pulling the belly button in towards the spine as much as possible. It helps to visualize the spine being shrink wrapped by all the muscle of the core.
  
Push down with the lower back: Strive to flatten the lower back as much as possible, it can help to visualise that your are pushing the lower back into the ground . You can test this lower back 'push' by sliding your fingers underneath before starting a set. 

Keep tight: Keep everything in the body as tight as possible to begin with. As you gain more control over your body you will be able to identify what muscle need to contract the hardest and what can be held less tense but start as tight as possible.

Keep the legs together: As well as tight gluteus, keep the legs tight together. If you are having trouble with this place a light object between the knees i.e. yoga block, rolled up towel etc, to help with visual feedback.


Now you have experienced this for yourself, you may have found that you are budding gymnastic stud or more likely that you struggled to hold this position for 20 seconds or you were even unable to get into the correct position, particularly flattening the lower back to the floor.

Don't worry this is something with practise that you will get much better at very quickly if you consistent and keep practising and always keep perfect form. If your form breaks in anyway the set is over.

Keep a look out for the next instalment of the back to basics series that is going to focus on the other side of the core, the gluteus and lower back.